

This is a fun and easy pattern for slip stitch crochet slippers, intended for scrap yarn.
You work with several strands of yarn held together which create a thick fabric that holds a layer of air between your feet and any cold floor!
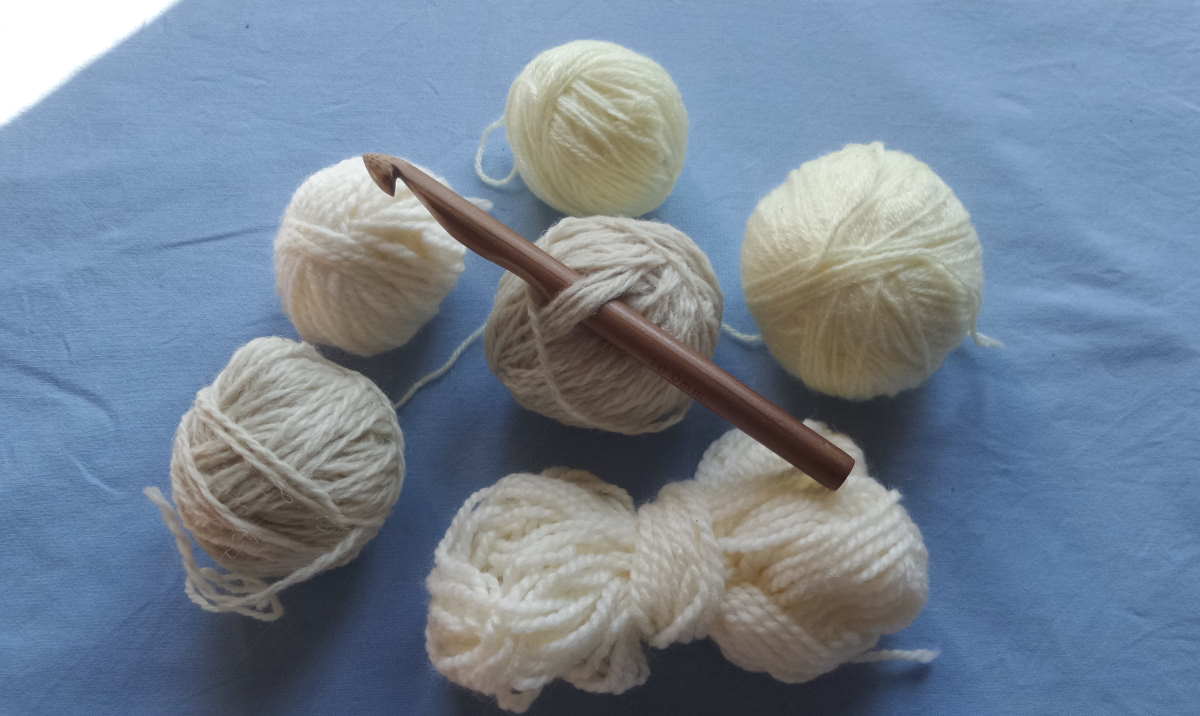
It is also a good project for practising slip stitch crochet. The use of a large hook lets you finish your slippers in a short time, and make many of them!
For one pair you need about 150 g (or up to 200 for larger size) of yarn. Use any sort of yarn that would normally keep you warm, for example sock yarn, wool, acrylic, alpaca, mohair... You can mix different sorts. (What I haven't tried is cotton, don't know if it would work well here.) The pattern is made for two or more strands of yarn held together. As a guideline - worsted or aran weight yarn - take the yarn double, fingering - take four or five strands together. This is only a rough indication! You can make a swatch (in slipstitch naturally) to find out how many strands are best with the yarn that you are using. If you want the slippers softer, more like socks - use fewer strands, if you want them sturdier and more shoe-like - use more strands together.
Crochet hook: 10 mm, preferably with a pointy tip.

This slipper is crocheted from the toe up. Start with a slip knot and 2 chain stitches. Crochet 1 slip stitch in the first chain stitch, then 1 chain stitch, repeat 2 more times = you have 6 stitches.

Round 2: In each stitch make 1 slip stitch in the front loop and 1 slip stitch in the back loop = 12 stitches.

Continue to work spiraling rounds. Increase 4 stitches per round like this:
F = slip stitch in the front loop, B = slip stitch in the back loop
R 3: 2 F, 1F and 1B in the next stitch, repeat 3 more times. (16 stitches)
R 4: 3 F, 1F and 1B in the next stitch, repeat 3 more times. (20 stitches)
R 5: 4 F, 1F and 1B in the next stitch, repeat 3 more times. (24 stitches)
R 6: 5 F, 1F and 1B in the next stitch, repeat 3 more times. (28 stitches)
R 7: 1 F in each stitch. (28 stitches)
R 8: 6 F, 1F and 1B in the next stitch, repeat 3 more times. (32 stitches)
After the last increase, put a marker in this stitch and leave it while you crochet the straight part of the slipper. This is so that you can easily check the number of rounds made and make sure the left and right slipper become the same size. It is very good to make them both at the same time, like I have done in the picture above.
Work in spiraling rounds without increases until the slipper is about 15 cm (about 13 rounds above the marker).
For larger size: After round 8, make one more round with 4 increases = 36 stitches. Work rounds without increases until about 16 cm.


The heel:
Make a turning chain, turn, and crochet 1B (slip stitch in back loop only) in each stitch until end of round. (32 stitches) The round is now a row and the heel is worked back and forth.
All rows: 1 turning chain, turn, 32 B.
Repeat until you have 14 rows (7 ribs) as in the picture above.
For large size make 16 rows (with 36 stitches) = 8 ribs.

Finally the back is closed. Hold the right and left half of the heel side by side and let the yarn from the ball run inside the slipper. Put the hook under a loop on one side, then under the corresponding loop on the other side, yarn over and pull through all loops on hook. Note the direction of the hook - it is always inserted from the fabric towards the gap, both from the left and from the right side. Again - as you see in the picture!
This is what I call the zipper joining method.
Alternatively you can cut the yarn and sew the back with mattress stitch with a needle.
Weave in ends. Finished! The slipper should be a bit shorter than your foot and stretch out when you put it on.

This is a basic pattern that can be changed and varied in any way you want with different yarns, colours, sizes...

